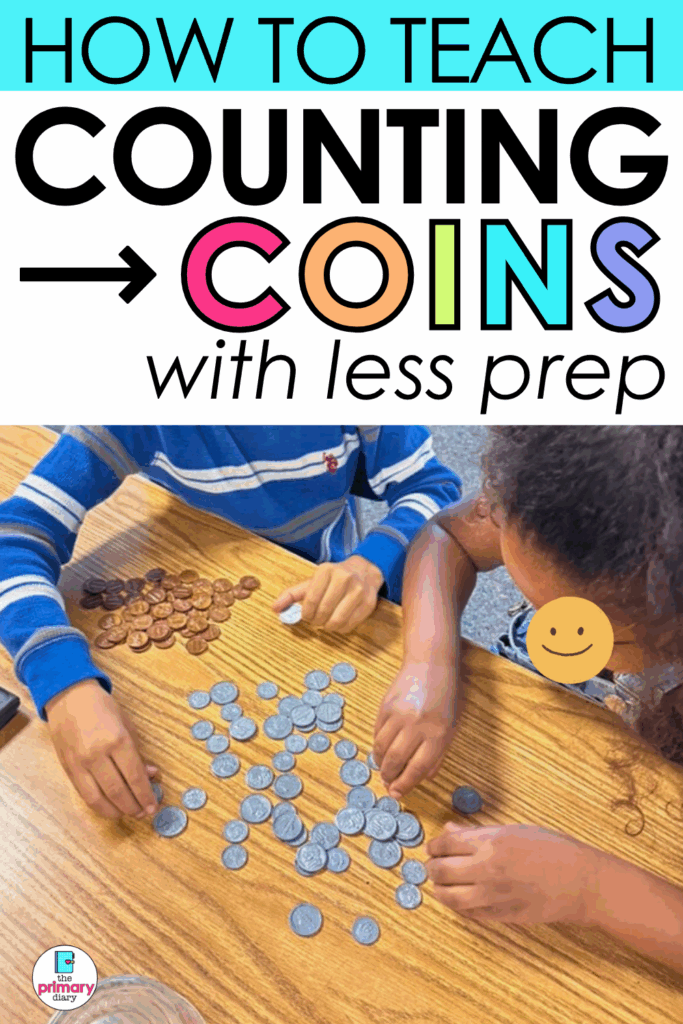
How to Teach Counting Coins in 2nd Grade (With Less Prep)
How to Teach Money to 2nd Graders
Let’s be honest — teaching money can feel like one of those lessons that should be simple… but never quite is. If you’ve ever found yourself wondering how to teach counting coins in a way that actually sticks, you’re not alone.
The truth is, understanding money takes time, and it’s one of the most important real-world skills your 2nd graders will learn. The key? Start concrete and make it visual.
Here’s how I break down teaching coins in my classroom — step by step — with tips, visuals, and my favorite digital resource to make your life easier.
Step 1: Start with Coin Identification
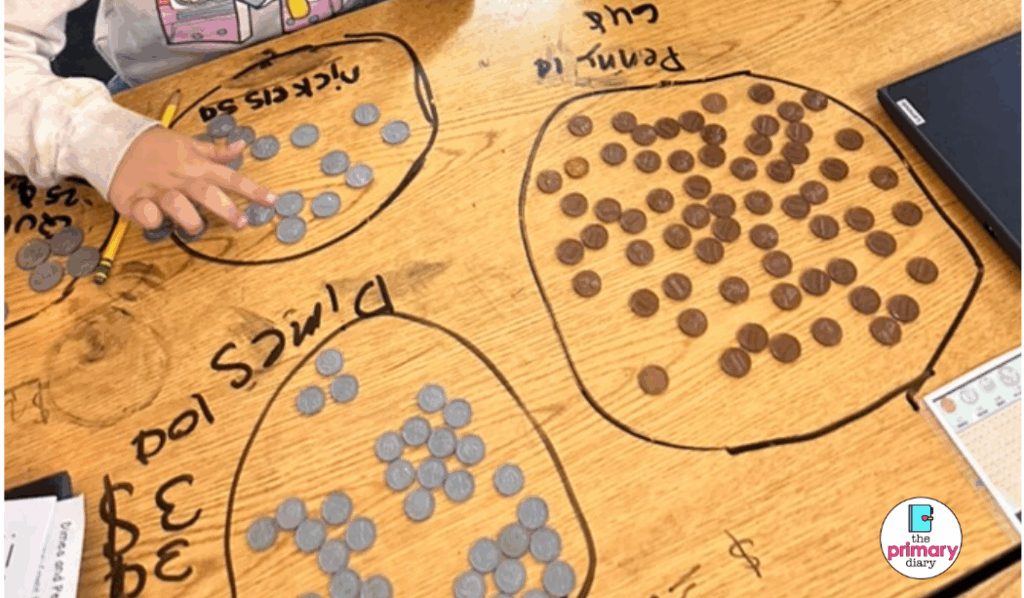
When I kick off our money unit, I skip the worksheets and pull out the tub.
You know the one — the bin of plastic coins collecting dust in your cupboard since October.
I hand out mixed coins to student pairs and give one simple direction:
👉 Sort them however you think makes sense.
No over-explaining, no “this is a nickel” lecture – just explore.

Within minutes, you’ll see all kinds of thinking happening: some kids sorting by color, some by size, and a few who already know each coin by name.
Then, I pass out whiteboard markers and have students draw circles around their groups right on their desks or mats, labeling them “pennies,” “nickels,” “dimes,” or “quarters.”
It looks playful (and it is), but it’s also an informal assessment goldmine.
As I walk around, I ask quick questions like:
“How do you know that’s a dime?”
“Those two look similar — are you sure they belong in the same group?”
It’s low-stress, highly engaging, and gives me a clear picture of where each student is starting.
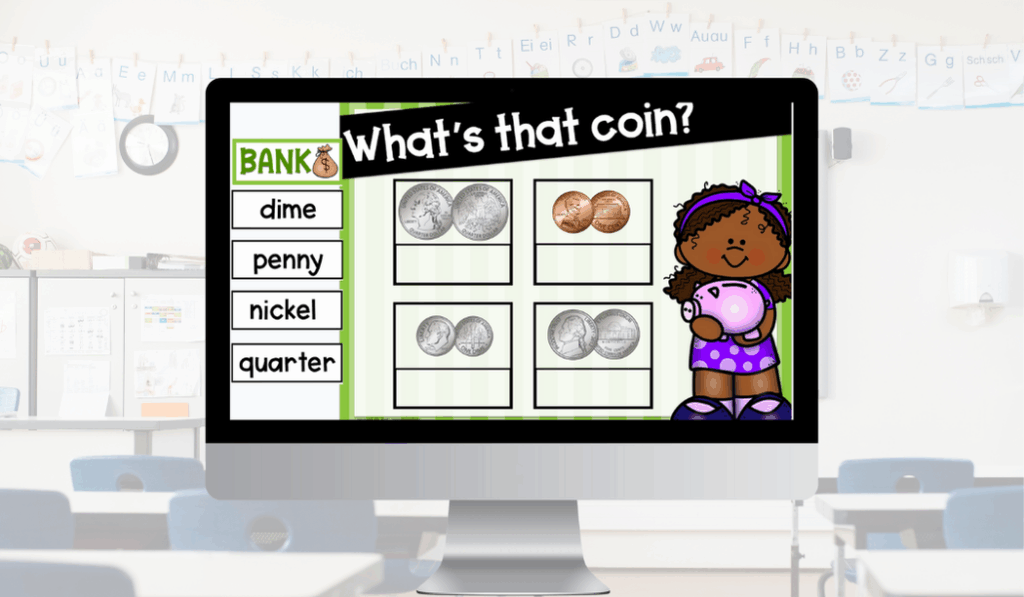
(In my bestselling Counting Money Google Slides, this same exploration happens digitally — students drag and match coins by name and value before moving into counting. Perfect for centers or early finishers. Plus it guides you through how to teach couting coins!)
Step 2: Count Like Coins
Once your students can name the coins, move on to counting groups of the same coin.
This step bridges recognition with real computation.
Start small:
- Have students skip count by fives, tens, or twenty-fives as they count nickels, dimes, or quarters.
- Mix it up with “Which set is worth more?” challenges to compare values.
If you’re short on manipulatives, this is where digital practice shines.
My Google Slides unit for how to teach counting coins includes interactive sorting and counting slides that mimic hands-on learning — minus the cleanup.
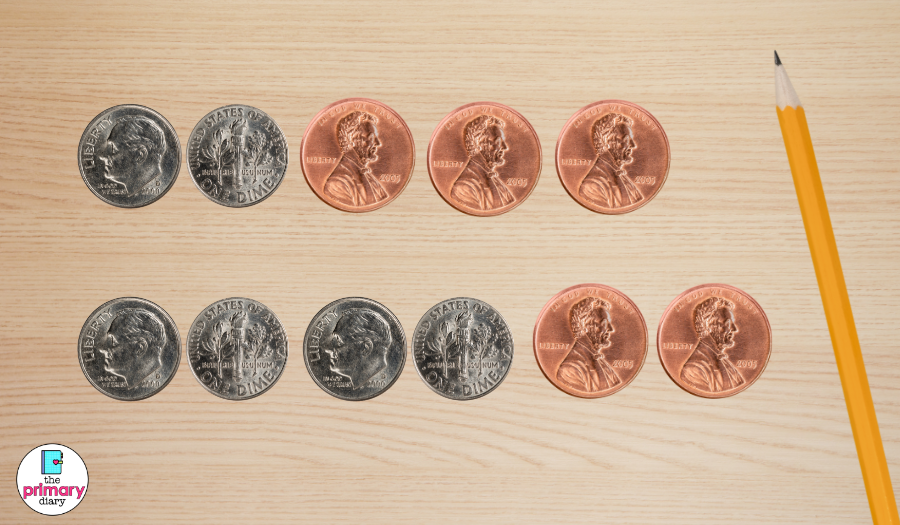
Step 3: Combine Different Coins (Start with Dimes and Pennies)
Here’s where things start to get interesting and where some students start mixing up values.
When teaching coins, I always start combining dimes and pennies first.
Why? Because it directly connects to place value — tens and ones.
Practice problems like:
- 2 dimes and 3 pennies → 23¢
- 4 dimes and 2 pennies → 42¢
This makes the transition to mixed-coin counting smooth and familiar.
Once students master that, I explicitly teach the tricky spots — adding coins like quarters + dimes (25 + 10 = 35) or quarters + nickels (25 + 5 = 30).
I always model my thinking out loud:
“I started at 25. A dime is 10 more — that makes 35.
This step slows students down and helps them build accuracy with reasoning, not guessing.
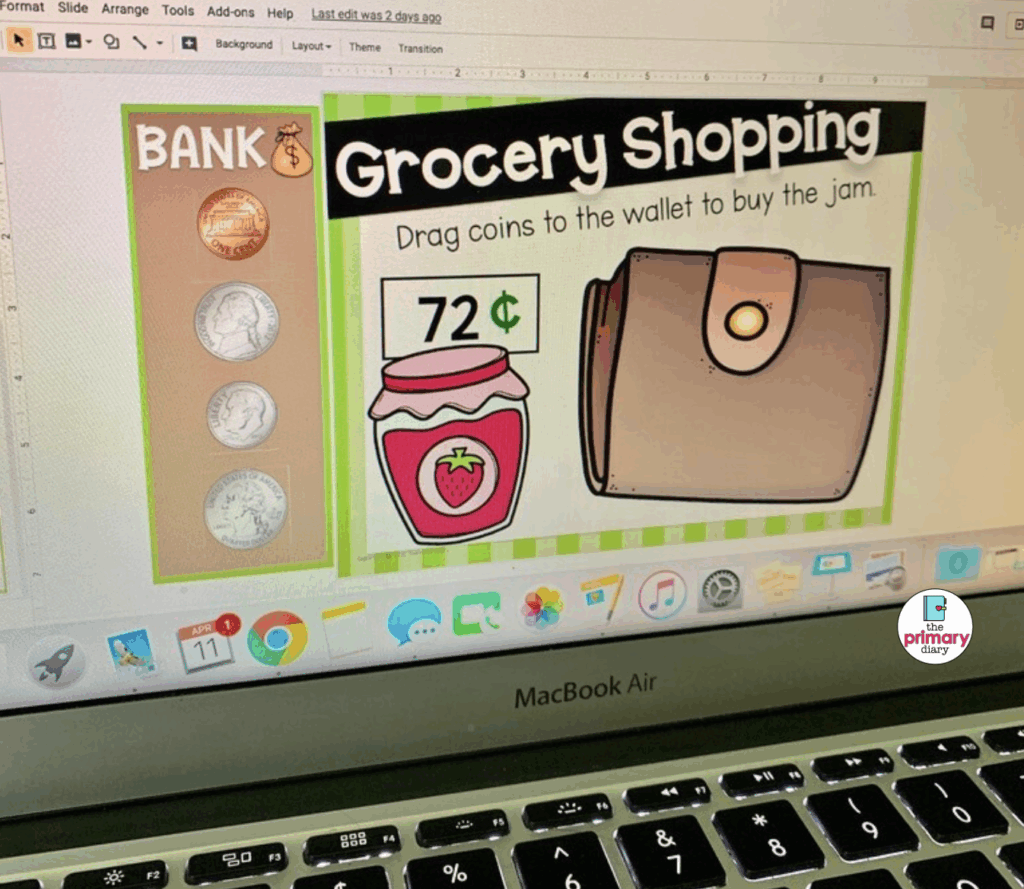
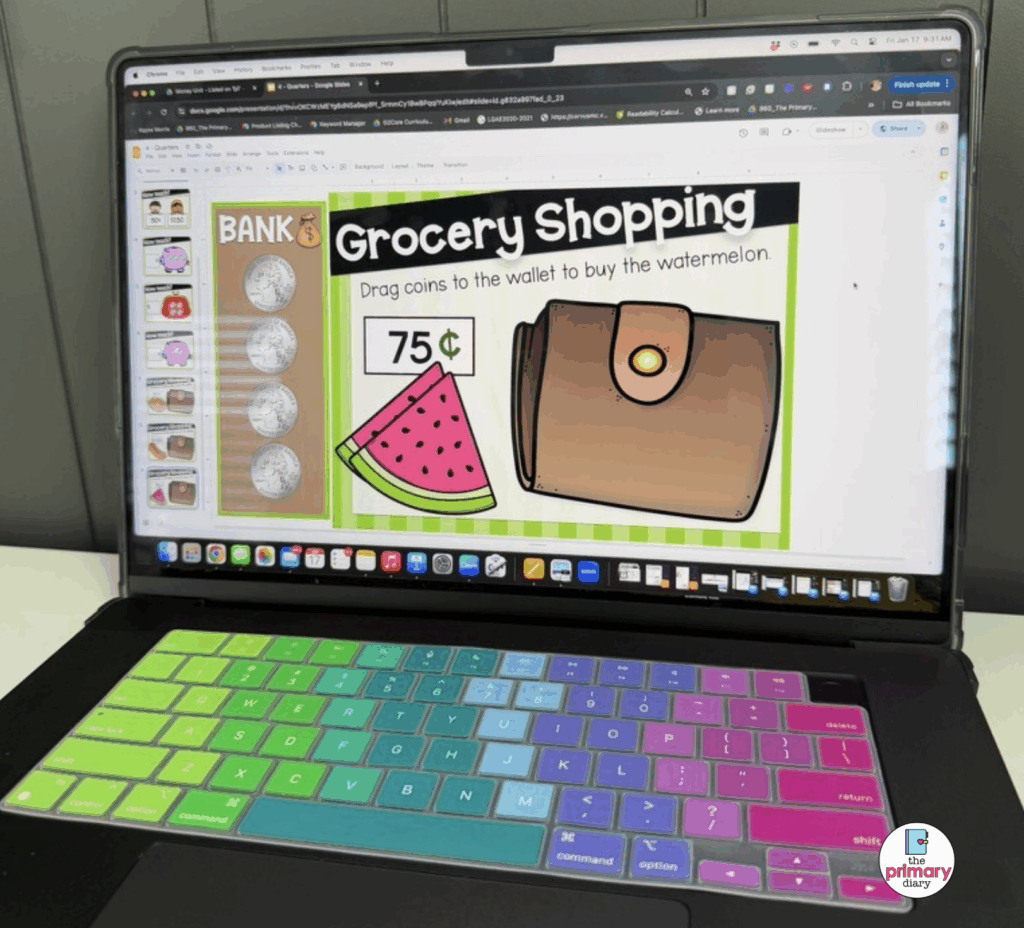
Step 4: Apply It to Real-World Money Problems
Once students can count coins confidently, it’s time to make it real.
Teaching money to 2nd graders is the perfect opportunity to bring in practical math applications they can actually see in everyday life.
Try these classroom ideas:
- Class Store: Price small classroom items (pencils, stickers, erasers) and let students “shop” using play coins.
- Grocery Math: Give students a list of grocery items with prices and have them calculate totals or change.
- Menu Challenge: Post a pretend café menu and have students figure out what they can “buy” with different amounts.
These activities not only reinforce coin counting. They help students connect math to real-world decision-making.
Step 5: Reinforce and Review (Without More Worksheets)
Let’s be honest — by this point, your students have touched, sorted, counted, and shopped their way through money. The last thing they need is a stack of repetitive worksheets.
Instead, keep the practice going through:
- Daily Warm-Ups: Quick slides that show coins to count as students enter.
- Partner Quizzes: One partner shows coins, the other names the total.
- Digital Review Games: Assign slides for independent practice
That’s why my Counting Money Google Slides unit builds gradually — from identifying coins → counting same coins → combining different ones → solving word problems.
It’s scaffolded AND interactive, so students get meaningful practice while you finally finish your coffee.
Final Thoughts on How to Teach Counting Coins
Teaching coins doesn’t have to be complicated.
Start with coin identification, move to same-coin counting, then mix them strategically, and finally, connect it all to real-world math.
With consistent review (and the right tools), your students will be confidently counting money in no time.
If you want a paperless, easy-to-assign option that walks students through all five stages, check out my Counting Money Google Slides for 2nd Grade.
Teaching the Measurement Standards? Get ideas here -> 5 Fun Measurement Activities for 2nd Grade.